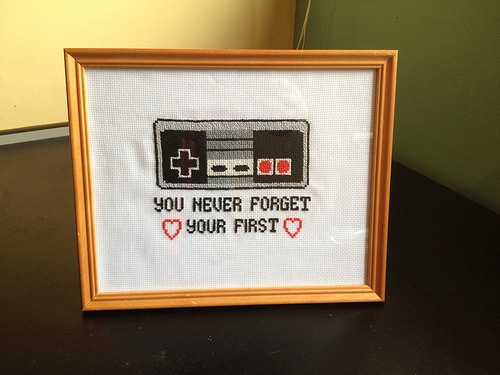
In August last year, I found an awesome cross stitch pattern which I decided to make for Huz for his 30th birthday present. It was tricky trying to create this gift because whenever I sat down to craft, he would be nearby, wanting to chat, catching glimpses of what I was working on. Luckily I'm a master of deception ;) and he got a great surprise.
 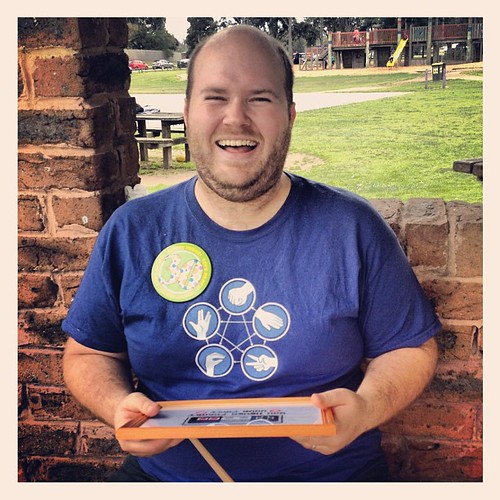 |
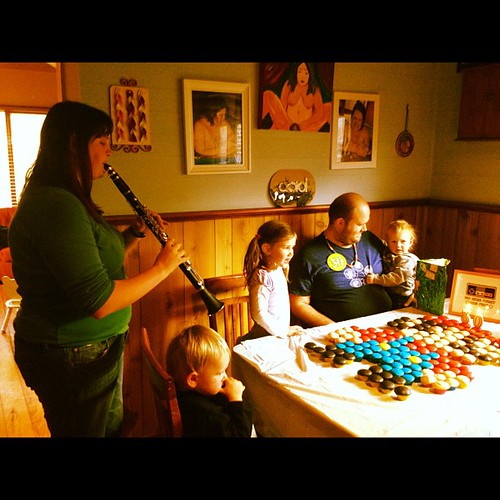
| Note his geekarific tee! The rules of rock, paper, scissors, lizard spock. |
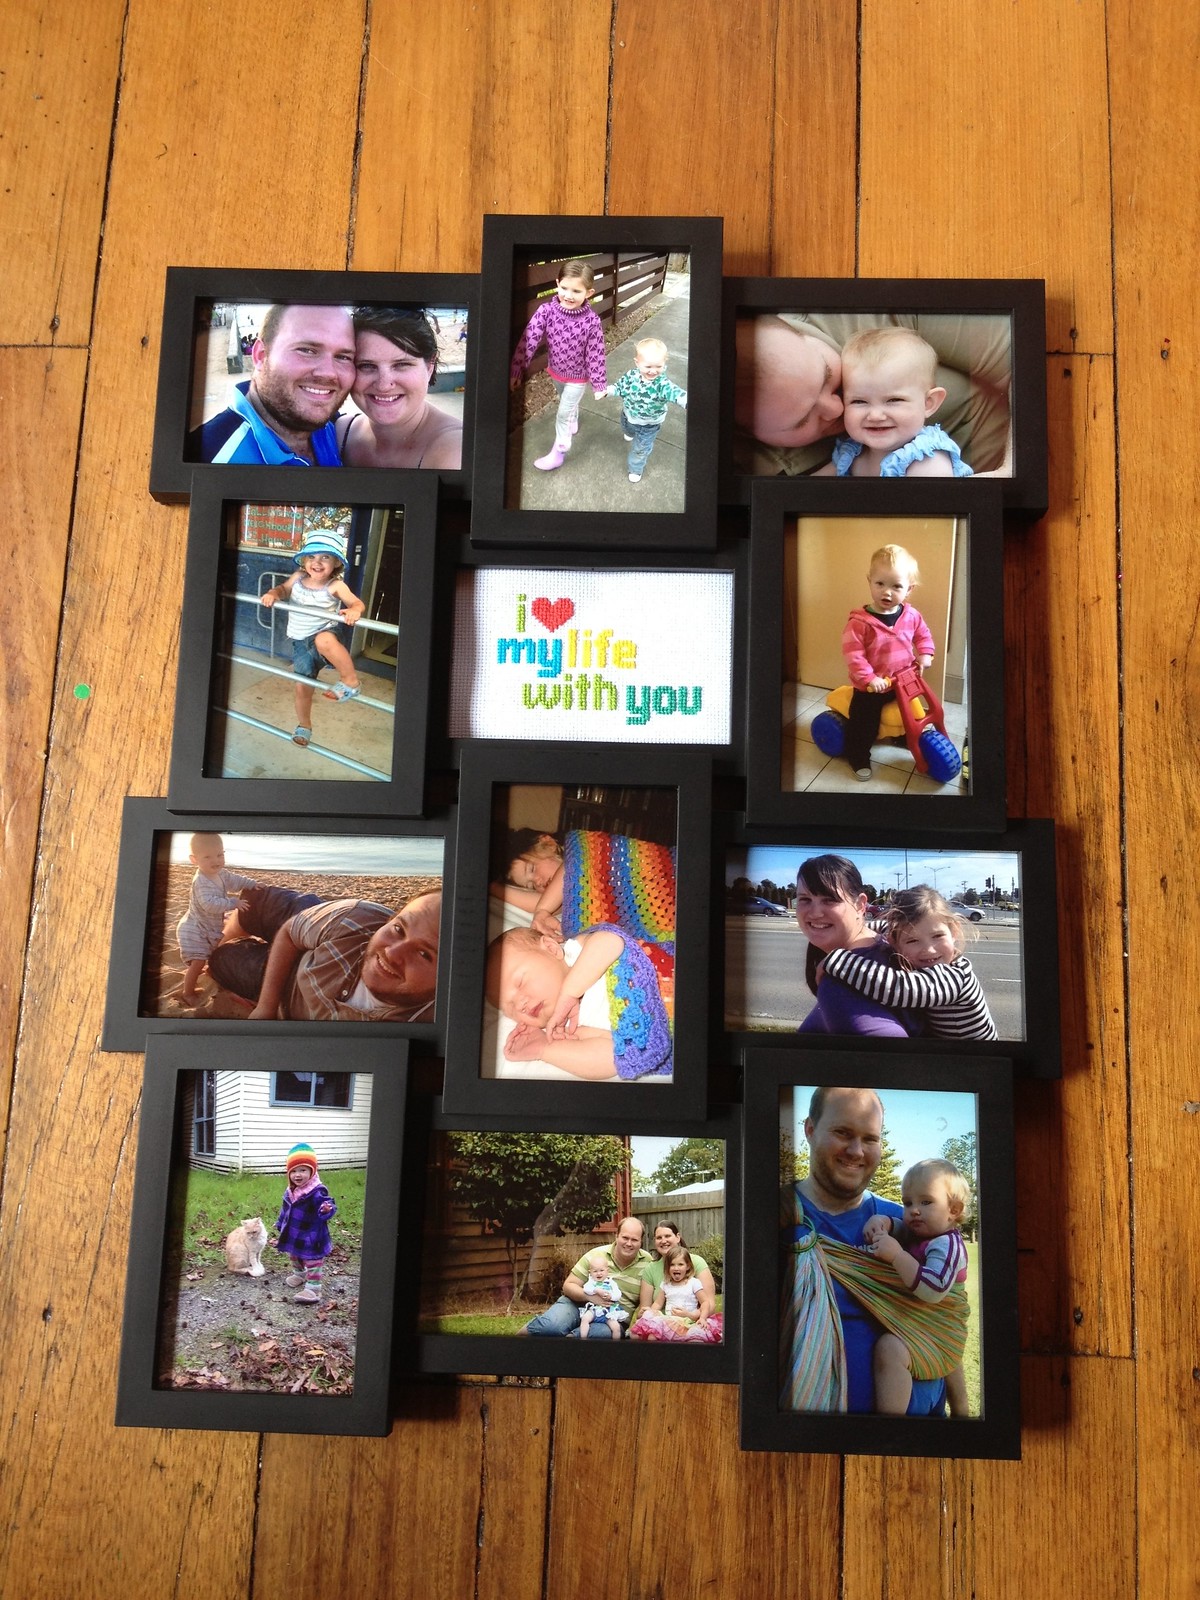
I also found a really sweet cross stitch pattern
which I knew would be simple and quick to create. It took me less than
two days. I made it to go in the centre spot in a multiple picture
frame and had a blast getting prints of our family snaps and arranging
our favourites (with our eldest's help) to give to him for his second
birthday present:
Initially,
I had some trouble figuring out what to make him for his birthday cake, my friend Meg had the brilliant idea
of sticking with the Nintendo theme of his cross stitch gift. I googled
for Nintendo cake ideas and settled on a very awesome, albeit time
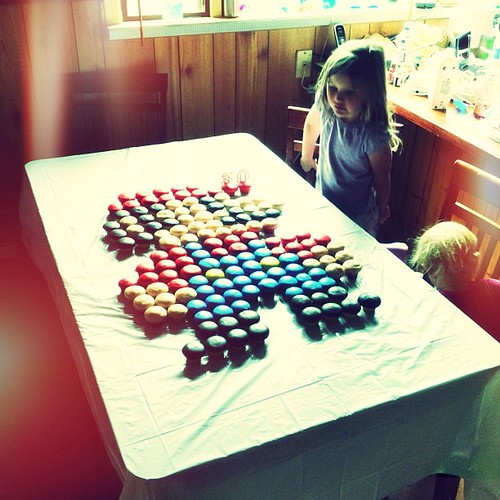
consuming, though not technically difficult 80s Super Mario cake design:
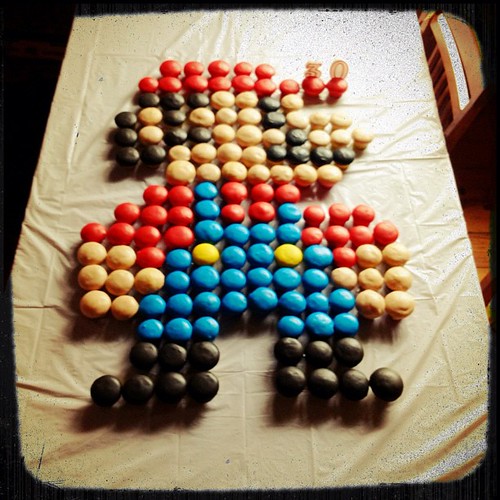
Cute
as a fox (the blog I saw this design on) created a template to work
from, complete with a list of how many of each colour cupcake would be
required to pull it off. There are 42 flesh coloured, 37 red, 31 blue,
24 brown (though my food dye ended up drying very dark and was hard to
distinquish from the black), 7 black and 2 yellow: 143 in total.
A little tip should you ever want to recreate a realistic flesh colour icing, I do it by using one or two drops of "rose" coloured food dye, a drop of yellow food dye and a sprinkle of cocoa powder.
It took 12 hours (with breaks for eating) to make the cupcakes, make the icings, ice and arrange them. I had originally planned to have a cake board made for the design to take the cake to the park for lunch (it would have required a board 75x95cms. But I wisely decided to use the kitchen table as my cake board and ask those who wanted cake to join us for cake at home after lunch. To give you a sense of the cake's scale:
Originally I was going to make my usual batch of butter cream icing, dye it, slather it on each cupcake and then smooth over with a spatula and warm water. But after testing that out earlier in the week, I realised this was going to take waaaay too long. Instead, I made my icing runny, so that I could dip the cupcakes in their colour and rotate the cupcake in my hands to make sure the entire top was covered. Then as it set, it hardened, looking smooth without any extra work on my part.
Might I add that I chose to do this with mini-cupcakes rather than regular size. You can bake 24 cupcakes at a time using a mini-cupcake tray, which was my motivation, but in the end I was really glad I didn't try to pull it off with regular sized cupcakes: I doubt they would have fit on my kitchen table!
Might I add that I chose to do this with mini-cupcakes rather than regular size. You can bake 24 cupcakes at a time using a mini-cupcake tray, which was my motivation, but in the end I was really glad I didn't try to pull it off with regular sized cupcakes: I doubt they would have fit on my kitchen table!
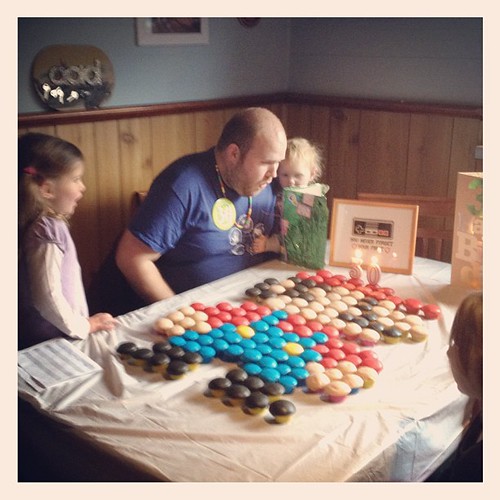
I
was pleased with how Mario turned out, most importantly Huz loved it. When I finished around 1am the
morning of his birthday, before going to bed I told Huz I was finished
and he was welcome to come have a look. It was very cool watching him
walk in and his brain take a minute to process what he was looking at,
then BANG, he recognised the image and was laughing.

No comments:
Post a Comment