Saturday, April 27, 2013

Superhero Costumes

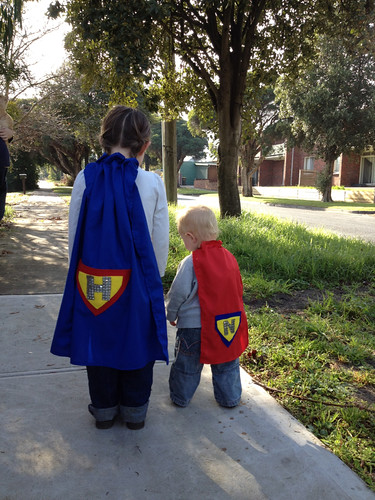
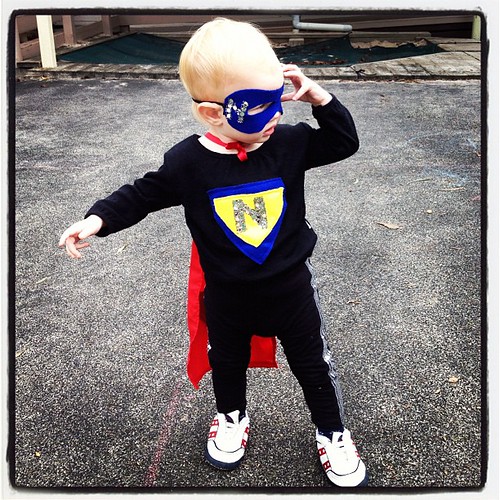
 Last year one of our eldest child's friends had superhero themed birthday. It was such a fun theme and simple to transform my family from every day citizens into their heroic alter egos ;)


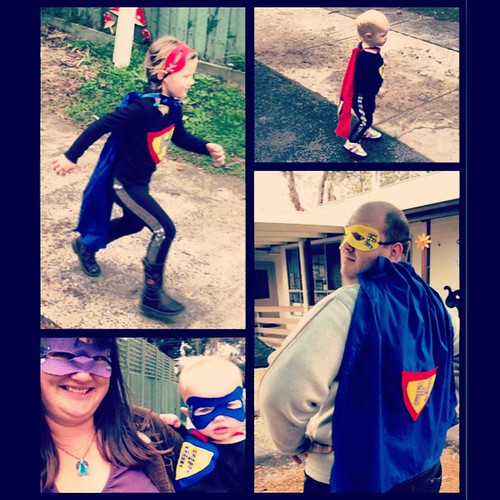
I used felt to create the girls' superhero emblems and some sequined fabric that I will never ever use again. That fabric was so fiddly and moved around heaps and frayed, ugh, it was awful. But it did give a good result. I made two emblems each for the girls: one I sewed onto the back of their capes and the other on the front of a plain black shirt. 

I also used felt to create the girls identity-protecting eye masks. And again used the awful sequined fabric, cutting out their iniitals and hand sewing them onto the masks. I also made a couple of masts for Huz and I.
Their capes were made from plain cotton, hemmed, and then a series of small cuts were made towards the top of the fabric and a ribbon of the same colour cotton was threaded under and over each cut to make a neck.

The finishing touch was a great find at K-Mart: black leggins lines with silver sequins up and down the side seams. Easy, fun, and a great addition to the dress-up box after the party :)

Friday, April 26, 2013

Lego Cake

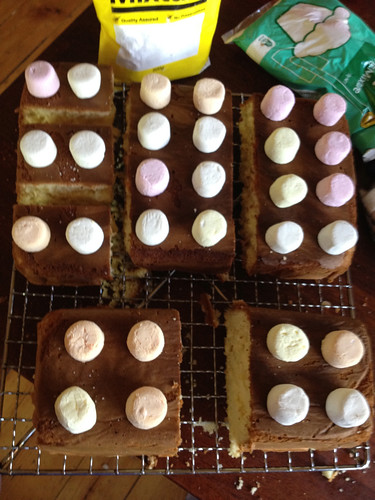
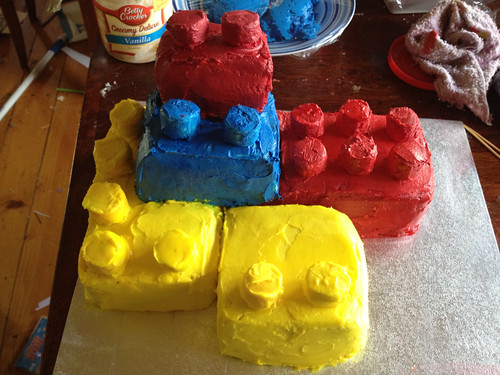
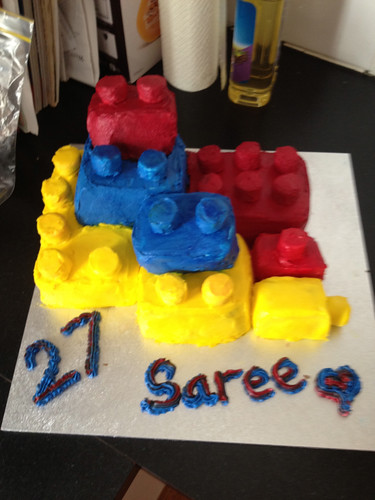
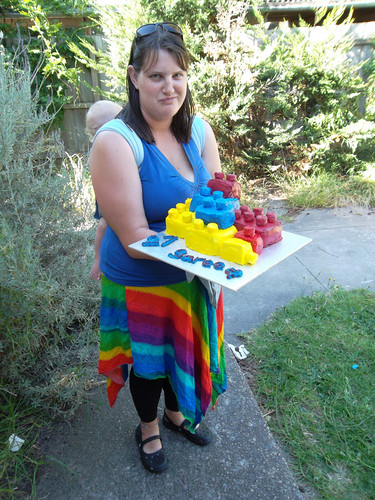
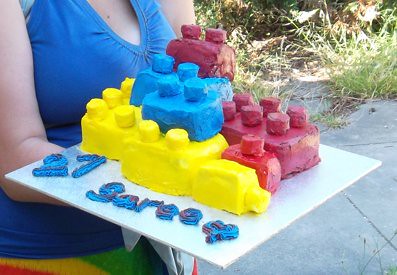
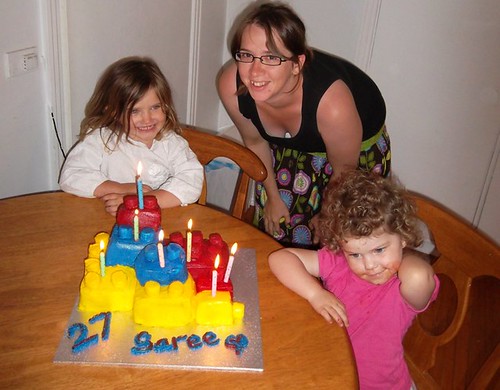
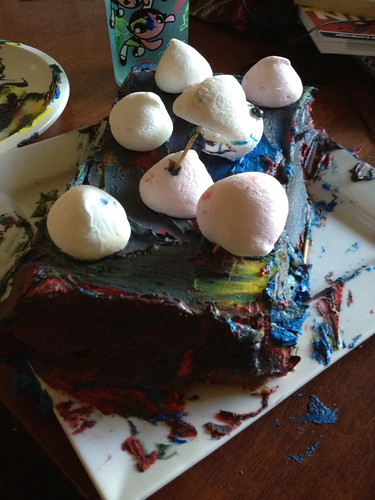
I came across edible lego cakes (as opposed to cakes built from real lego) in 2011  and knew I had to make one for Saree's next birthday as she openly admits the lego she buys her children is a gift to herself foremost ;) I made two different sized rectangular cakes, cut them up into as even portions as I could manage without using a leveler ;) Gave them a "crumb coat" which I learned from this video and stuck them in the fridge. After the cakes cooled in the fridge, I made blue, yellow and red butter cream icing, iced the cakes, iced the marshmellows and stuck them into the cakes using tooth picks.


I love the concept of lego cake, but I wasn't entirely happy with the end result. I hate smoothing icing. I suck at it and all I can think when I look at the pictures of this cake is how much more work it needed to look the way I wanted it to. I finished the cake about an hour, hour and a half before we had to go to Saree's for dinner, and I spent that hour/hour and a half touching up, I could not stop!


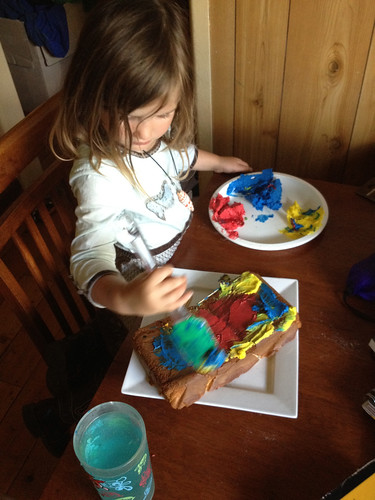
Saree was pleased with her lego cake. My eldest was inspired to create a lego cake of her own (sort of, lol):


But unlike me, she was pleased with her end result. I could learn a lot from this kid!

I think if I try the lego cake again, I'll see how much smoother I can get it with fondant instead of butter cream. 

Thursday, April 25, 2013

Mermaid Party Invitations

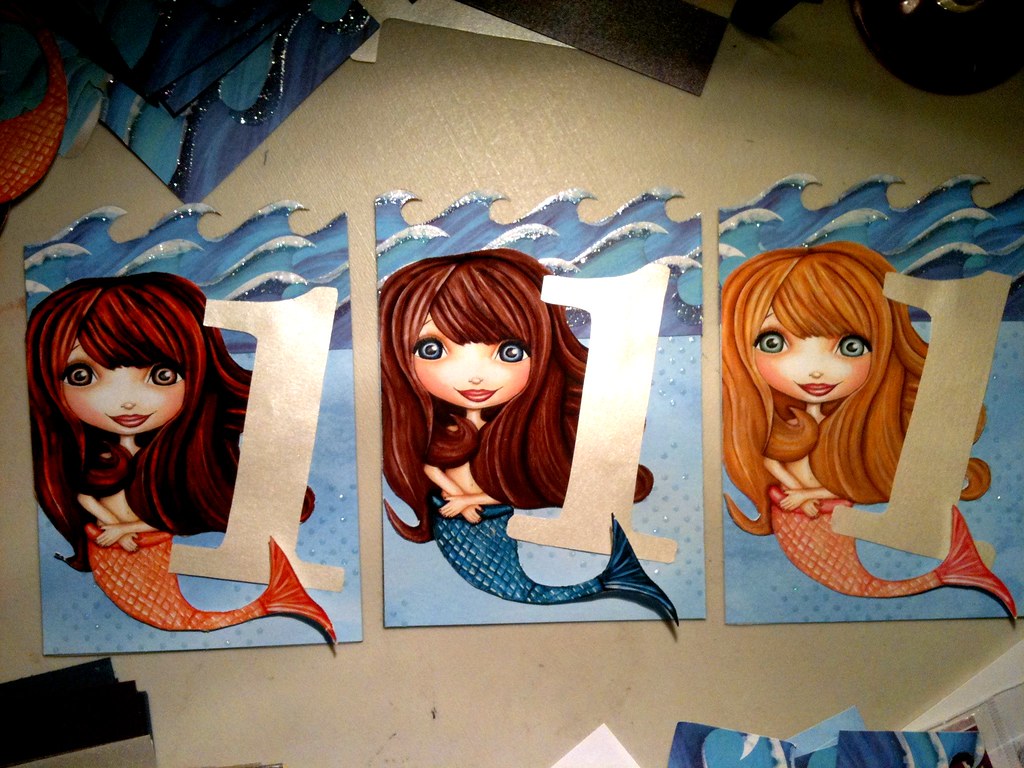
Being a lover of all things mermaid and selkie, I threw a mermaid themed party for my second child's first birthday. I was googling 'round for any kind of mermaid inspiration when I found these postcards on etsy:

Image source

They were too cute not to have :) I contacted the seller (Kathy from The Dreamy Giraffe) to ask how long it would take to to get 25 from her to me to work out if I would have enough time after shipping to cut them up and work them into my own design for invitations. It all worked perfectly.

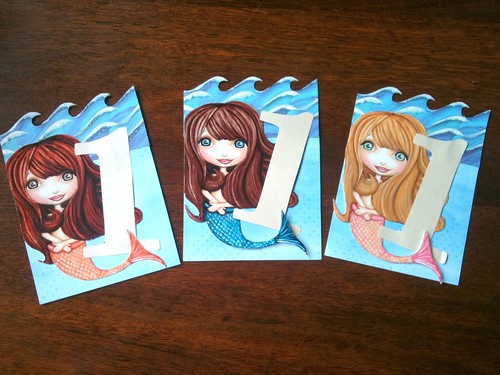
Once my assortment of blonde, brunette and auburn haired mermaids with pink, blue and orange tails arrived, it was time to find the rest of the scrapbooking supplies to make the invitations.

I headed to my favourite scrapbook supply shop where I spent a sublime child-free hour scaling the racks for mermaid, oceanic, watery goodness. I found "Pirates" by Absolutely Something 4 Everyone and was set:

Image source
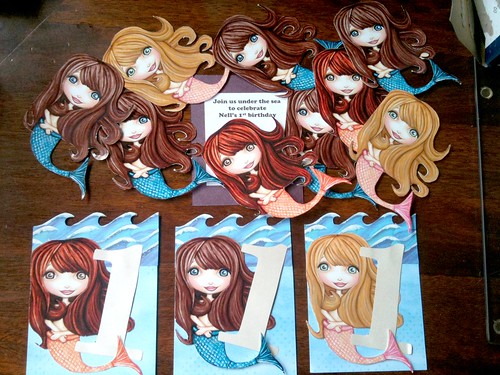
Not only is it adorable and watery, there are slightly raised, sparkly sections in the sky and water just to add that little something :D I spent the next few days obsessively cutting out the waves. Then I cut up the sky to use as background, making sure there were no birds in the cuttings I used, pretending it was water ;) A bonus of using the sky as water in my design is that the raised sparkly sections look like bubbles, like it was always meant to be water. I also got a chipboard number one and traced it many times over on pearl coloured pages. I was once again very pleased with how quickly a beautiful design sprung to mind and ended up doing no drafting whatsoever, I love that about card making :)

Aubrey, Cressida and Ysosbel - yes I named them
Click to enlarge

And repeat twenty plus times...


I decided not to make a full card this time. Instead, these are postcards, with the details about the party stuck to the very dull back. I was motivated primarily by wanting to save paper. The only downside was that I didn't feel this design accommodated a magnetic strip like most of my others have, so they can't go straight on the fridge. If I had put the strip on it would have meant that the details of the party would be facing the fridge, instead I've left it to the invitees whether to have the mermaid or the details facing the fridge. The OCD in me wishes the details and the art were all together, but the artist in me refuses to get over how super cute they are as is  (and they sparkle in places!)

Naming Day Invitations & Cakes

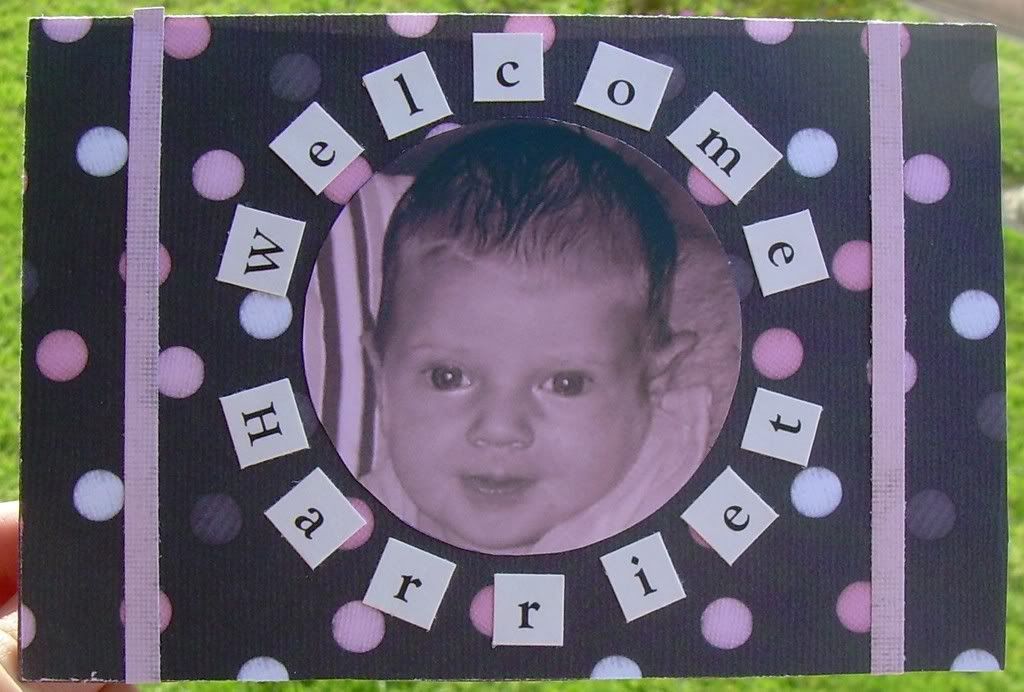
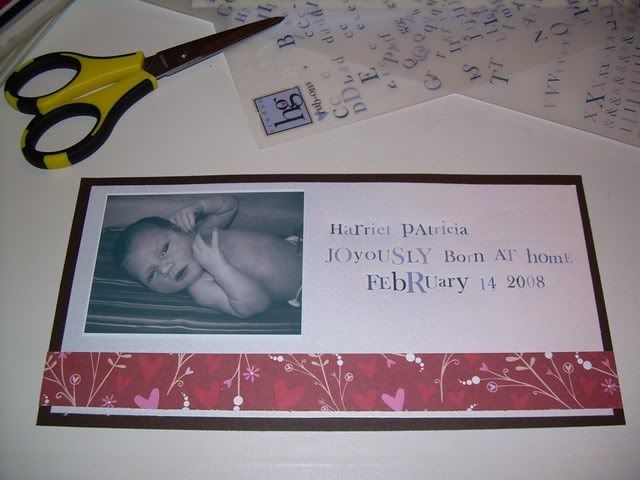
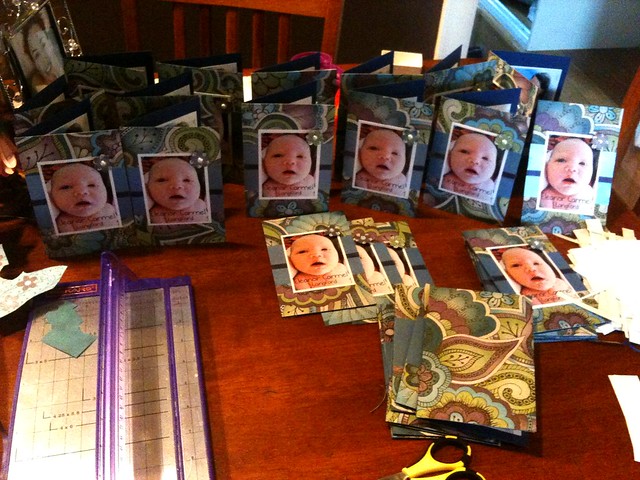
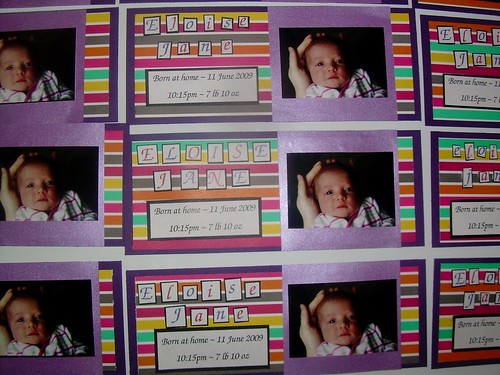
About three months after our children are born, Huz and I host a naming day (for want of a name for the day lol). Shortly after their births' I send out hand made invitations to the naming days, featuring a melt-in-your-mouth image of our newborn. For our eldest I had a ton of this adorable black and pink paper:


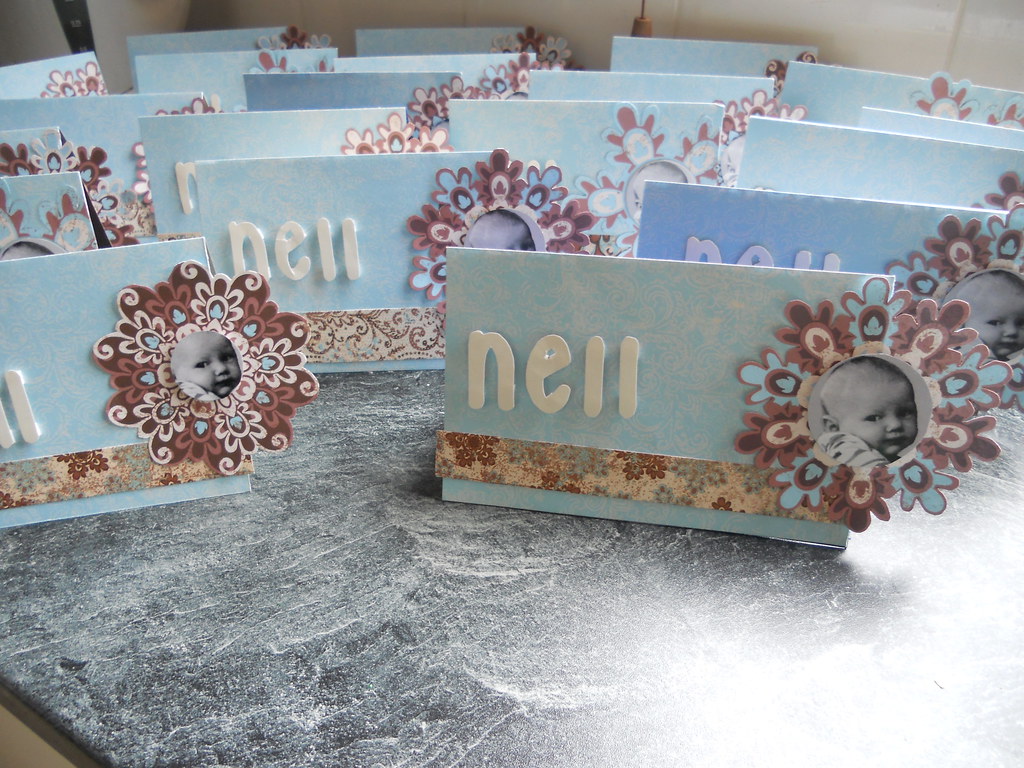
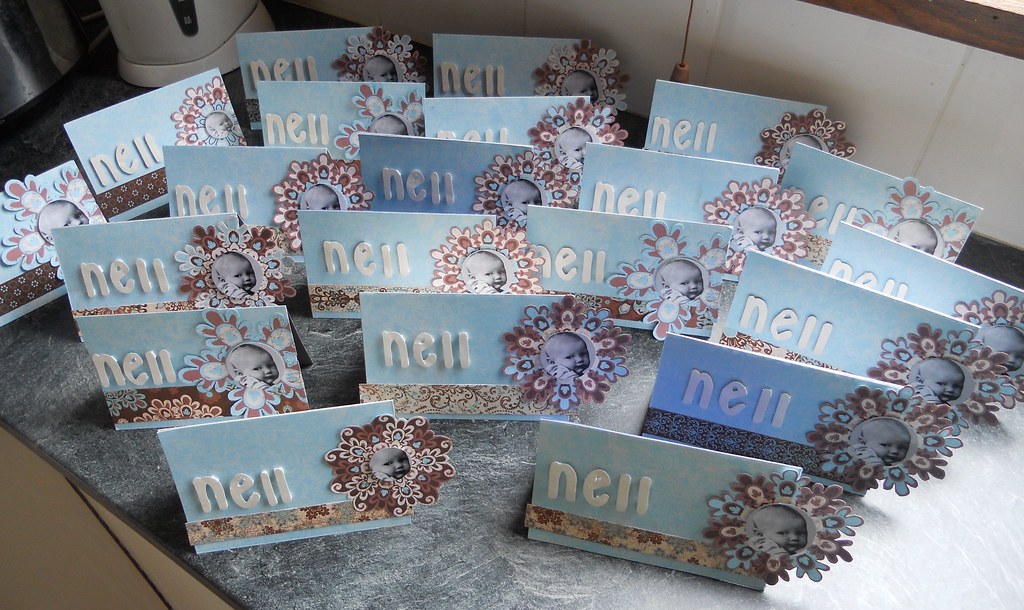
For our second, I went with blue and brown (which I've always adored together). I was really drawn to blue when I was pregnant with her, and I've never really loved the colour beforehand. It's always been one of "her colours".


I hope we manage to get a photo as adorable as these two, for baby 3's naming day invites in a few months time!

On the day I make personalised cakes for our guests. Our eldest's naming day came before I'd tried my hand at cake decorating (I didn't even know how to make icing back then! I had help from a friend writing my baby's name on these cupcakes, lol):

photo by Laura Baker
Our family on edlest's naming day, photo by Laura Baker

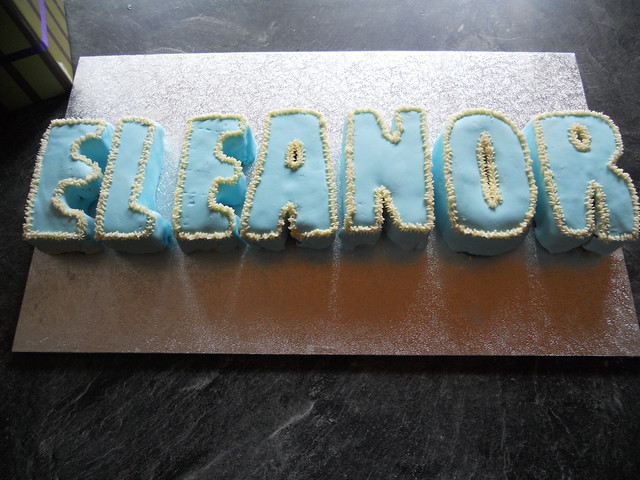
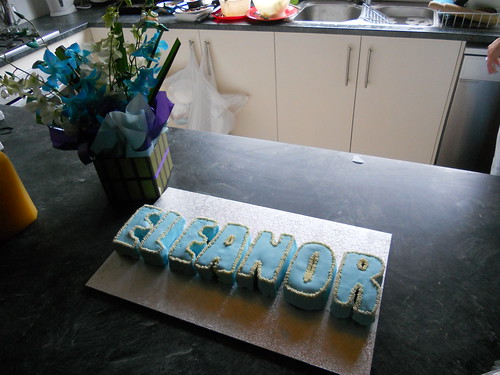
By the time we had our second child's naming day, I'd had a few years of cake decorating under my belt. I bought a set of alphabet cake pans. I said to Huz "They're such great value! I can use them to spell anything in cake in English, French, Spanish, German and Indonesian" ;) I used the pans to spell out her first name in cake. Originally I planned to have her first and second name, but it ended up being quite a bit of cake, just having her first name there! Each pan in about the size of a hand.


After cooking the cakes and letting them cook, I covered them in white chocolate ganache to use as an adhesive for fusing fondant to cake. It tasted amazing, and it didn't ooze when pressed, like butter cream, and was thinner than butter cream, which I liked. But it wasn't as good at sticking as butter cream.

I spent an exorbitantly long time rolling out the fondant and making sure the blue food dye spread evenly (while I dyed the fondant myself, I did not make it, I bought it from my local cake guy). Then I divided it (1.5kgs of sticky, dense fondant) into seven evenly sized balls

This was my first attempt at covering cakes in fondant and it was quite tricky because of all the nooks and crannies each letter had. When I finished, they looked a little plain so I added a border of white butter cream stars, to give it a finishing touch.

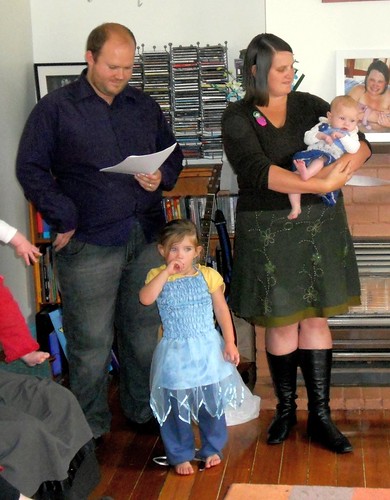
And the only photo of our family all together on that day, lol:

I'll definitely use the alphabet cake pans to create the soon-to-be-born babe's name in cake, but will use different coloured fondant, butter cream for adhesive and not too sure about borders or other embellishments, you'll just have to wait and see ;)

Wednesday, April 24, 2013

Birth Announcements

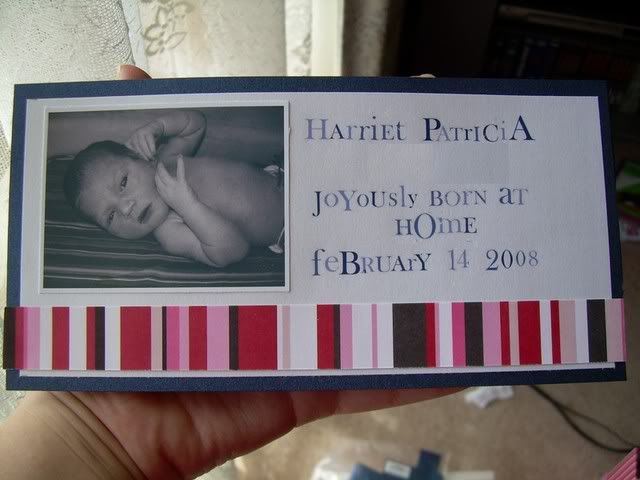
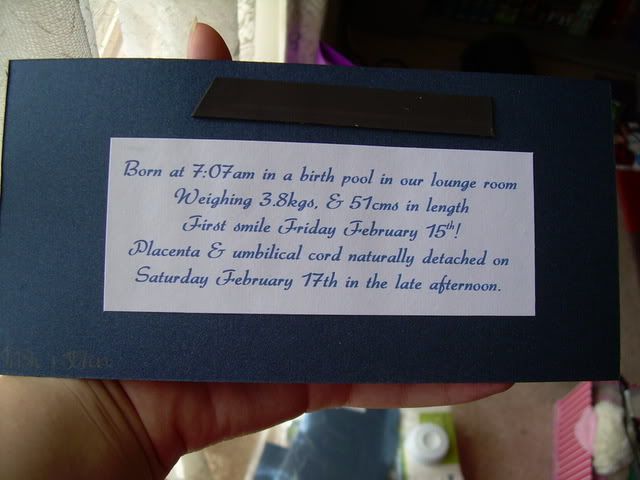
To date, I've crafted paper birth announcements for the friends and family of three babies and two cross stitches for the babies themselves. The first announcement was made in honour of my eldest, in February 2008. I made long, horizontal postcard style announcements with her picture and basic details on the front, with more detail on the back and a magnetic strip so it could be stuck onto people's fridges:


I made the mistake of using rub on alphabet transfers for the lettering on the front of the announcements. It took forever! Mega pain in the butt! I vowed never to use them again, and five years later I can say I've kept my promise ;)

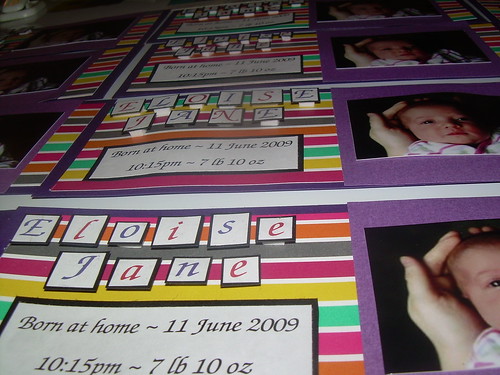
The second birth announcement I made was for Saree's second daughter, whom I had the honour of being doula for. I stuck with a similar design: long, horizontal announcement with magnetic strip on the back for easy display on the fridge. But this time I put all the details on the front, with the photo. This time I used a word processor to create the lettering myself, printed it off and cut them up into little squares which I stuck on card and then on foam squares so they popped up from the page and made her name stand out from the rest of the text:


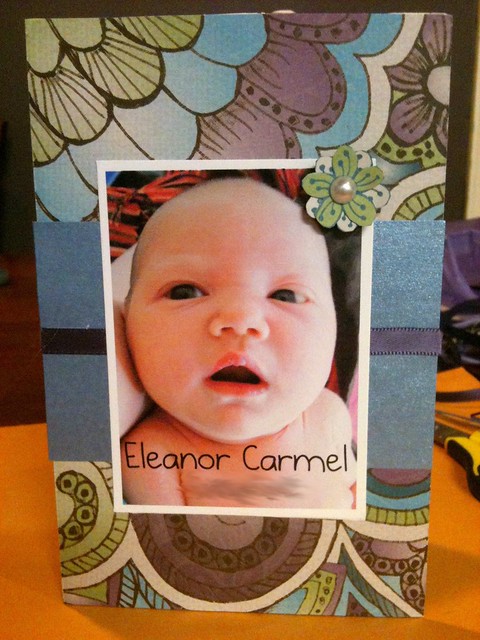
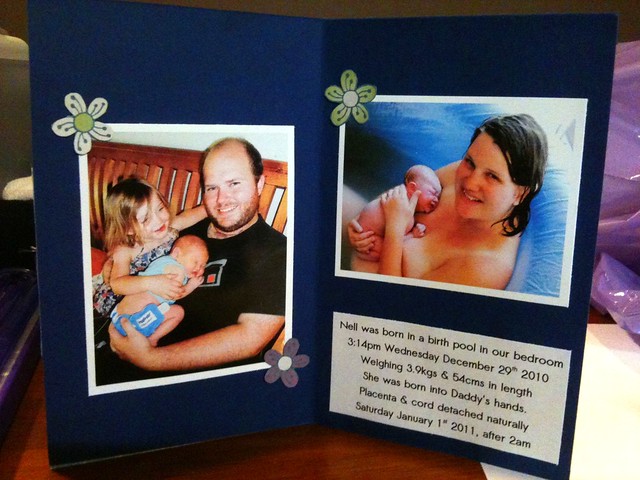
My third set of paper birth announcements were in honour of my second daughter's birth. This time I decided to create a vertical standing card featuring a photo and her name on the front and her details and more images inside the card. I cut out two little flowers per card, stuck a tiny pearl sticker in the centre of one and stuck that flower on top of the other, then placed them in the corner of the photo, using a foam square for the pop-up. They also feature a small strip of ribbon:


I got a little addicted to cutting our flowers and ended up having extras, which I stuck inside cards to use up.

I will have to do this all again in the next few months, as we welcome baby 3 into our family sometime in July. I haven't even begun to think about the announcements, but as in the past: I'll get started before the baby is born so I only have to stick the details on at the last minute before posting :) My nesting manifests in birth announcement preparation. 

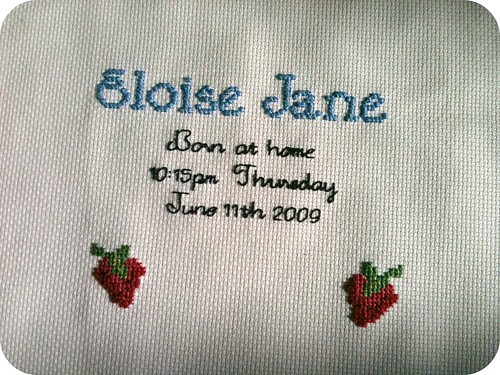
I have also made a cross stitch birth announcement for my second born and Saree's daughter Eloise (and will do it for my other kids too, I just haven't got around to it yet). I made the following for Eloise's 2nd birthday:


Unformately I don't have any pictures of it once it was framed, it looks very sweet in it's warm wooden frame. The strawberries are of special significance to our relationship, which still gives me the warm and fuzzies to think of. Here she is recieving it: 


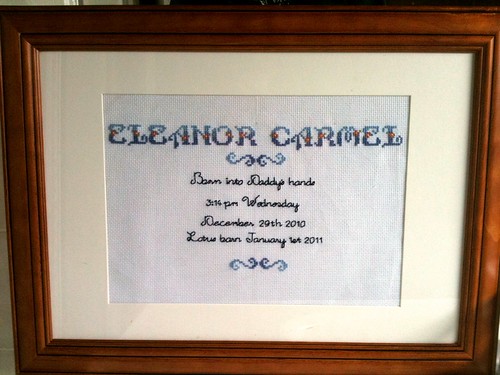
For my second born's cross stitch announcement I only did text. I used an alphabet that remains my favourite. Part of the reason I'm finding it hard to get started on a cross stitch birth announcement for my eldest daughter is that I haven't found a unique font I love as much as the one I used below:


Photos just don't do this alphabet justice! You'll have to pop 'round some time to check it out in the aida ;)

And thus concludes my birth announcement craft.
Tuesday, April 23, 2013

Personalised Cross Stitch

For her 30th birthday, I decided to make our eldest daughter's godmother a personalised cross stitch. I sent her a message to find out her favourite colours and she was intrigued, but I managed to keep it secret (miracle!) until it was finished and ready to give. I put together a couple of different patterns (from my big book of cross stitch patterns by Reader's Digest), tweaked them for improvement/personalisation et voila:


Juls declared it "the best present ever!" and teared up #missionaccoplished :D

Yay, caught the moment!

I knew she'd love it, it was such a joy to stitch, knowing how touched she'd be. When I finished it I didn't know what to do with my hands. I felt a little lost, having spent every spare second on this.

Watching me get my stitch on, inspired the birthday woman's Goddaughter too :D

Monday, April 22, 2013

Dresses

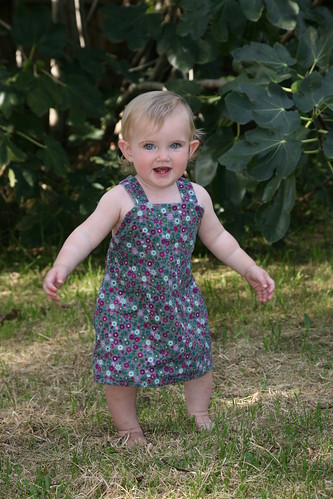
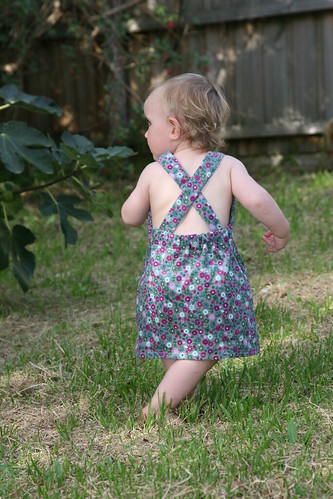
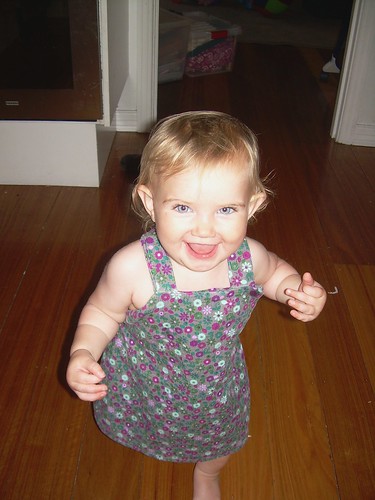
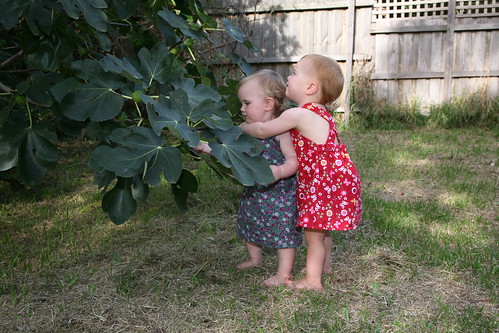
Back in the day when I was firmly attached to a belief that I would not, could not sew a stitch (thank-you very much traumatising textile teachers from high school!) my friend Saree was determined to convince me otherwise. She sat with me for hours, sharing her machine and a pattern and donating beautiful corduroy fabric to the cause and with her help I sewed my first ever project that was not made in a fog of humiliation and tears: a very sweet dress for my then one year old.


For the first time in my life, I created something out of fabric without being graded, or watched by the eyes of a middle-aged woman full of disdain for my very being. I was not scolded for not concentrating hard enough and talking too much. I sewed! And not just some shitty pencil case or pin cushion, a dress! A beautiful, practical, dress for the person I loved most in the world :) 


This was a huge turning point in my life. At the time I was trying to reconnect with my long-lost creative side by hand making greeting cards, something new for me. I'd never been into hand crafts. A very big reason for this was that my experiences with craft at school had been so demoralising that the lesson I'd walked away from those years with was: you can't do craft. This broke Saree's heart and she didn't let me spend another minute believing that :) After making that dress I went on to learn cross stitch, try my hand at sewing more things, and eventually I came to identify as craft-competent and now I LOVE crafting. And I also had another daughter who the special dress was passed on to :D
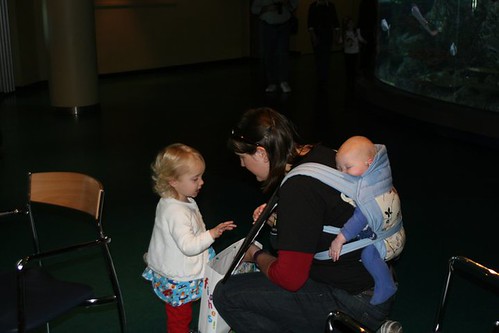
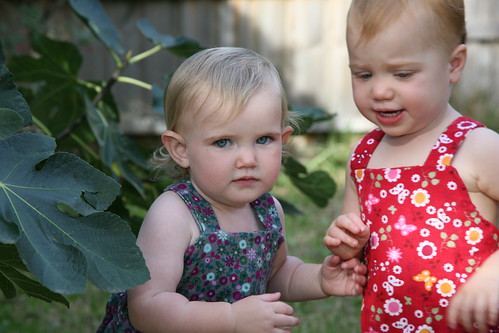
Here is Saree's eldest and mine in those cord dresses (photos by Saree's very talented mother, as are the 1st two images in this post):

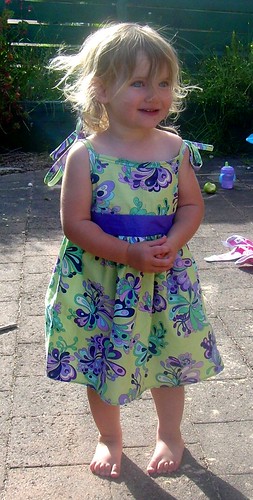
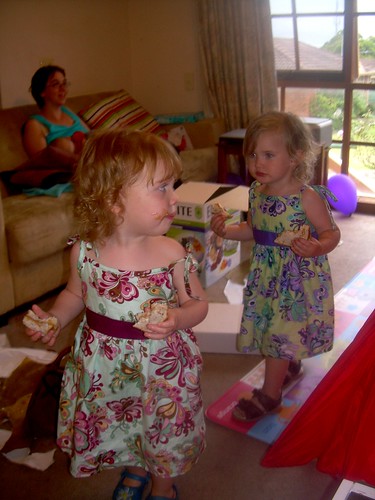
The cord dress was sewn in March 2009. In December Saree had another dress pattern she shared with me. This time I shopped for my own fabric and once again we sat down together and worked away. The straps for this dress required bias binding, which Saree did for me, and she helped get me started on gathering the part beneath the solid sash. The end result remains one of my favourite items of clothing and has been worn (again) by both my daughters. Initially it was sewn to be our eldest's special Christmas Day dress :)


And here is Saree's eldest and mine in their complementing Christmas outfits, December 24th 2009:


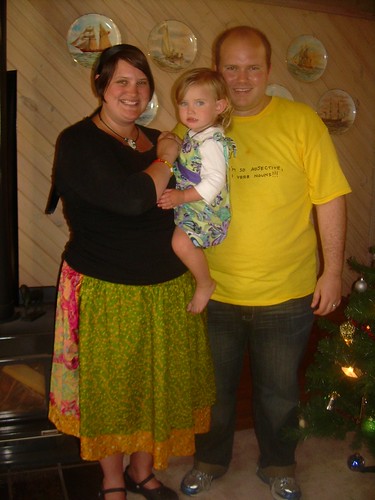
And our little family on Christmas Day 2009 at Huz's parents' place:

That was our whole family back then! The following Christmas was my due date with #2 :)

My machine sewing hasn't really taken off (aside from the ring slings), as I've found other craft mediums I enjoy more, but I reflect on projects like these gorgeous dresses and think to myself that I really should make some more :)